A great as Light/Dark mode is, changing it via setting is a bit of a pain, so here’s a quick guide on how to do that with Automator and update the icon for it so it looks good in the task bar 🙂
First off, lets create the automation;
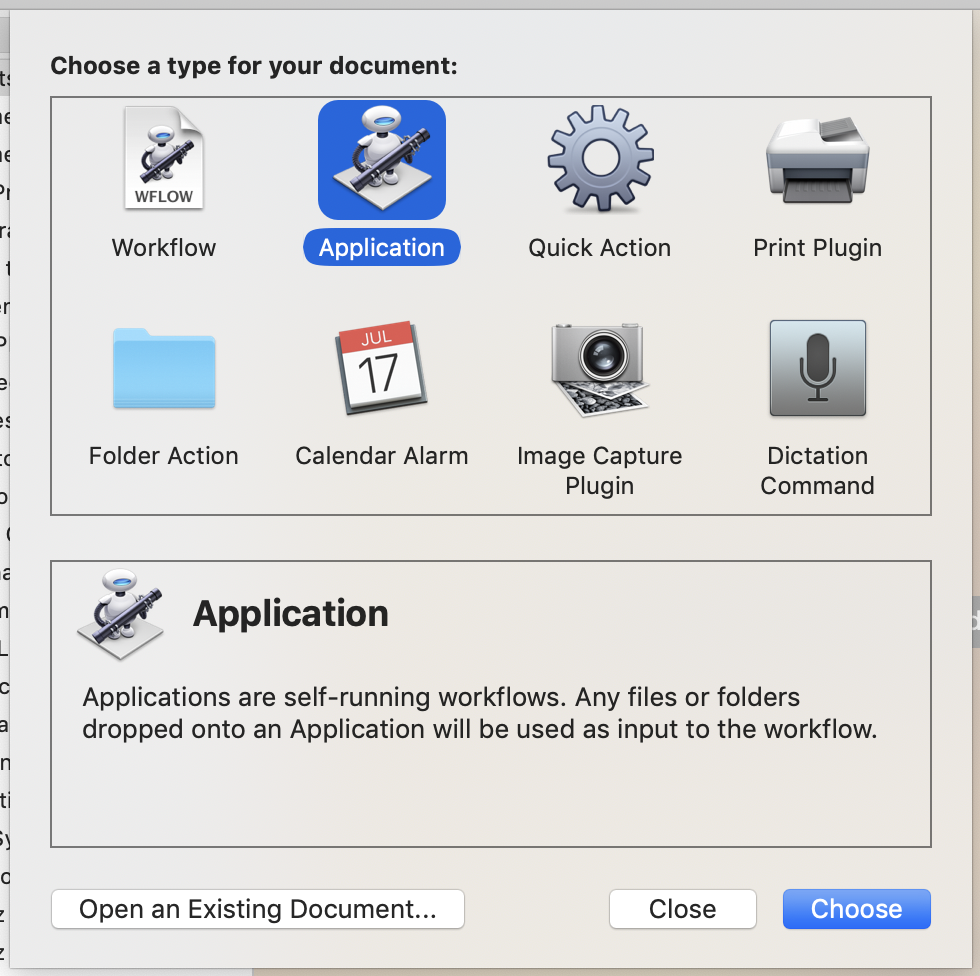
Launch Automator from the Applications menu
Select ‘New Document’
Choose ‘Application’
Choose ‘Utilities’ from the Library
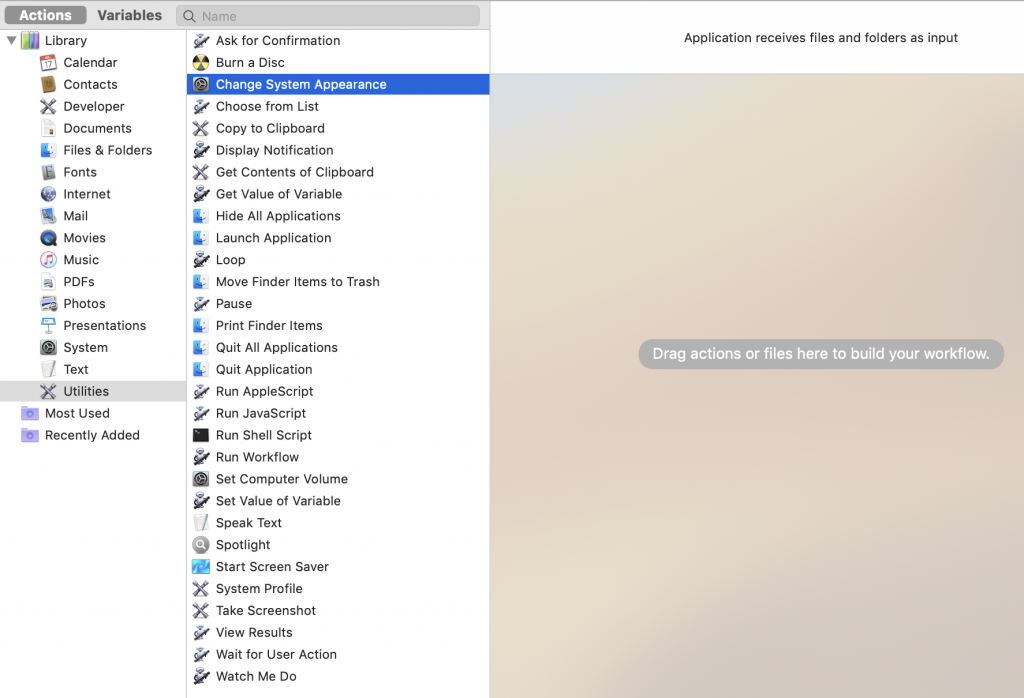
Then click and drag ‘Change System Appearance’ to the area with the grey bar that says “Drag actions of files here to build your workflow.”
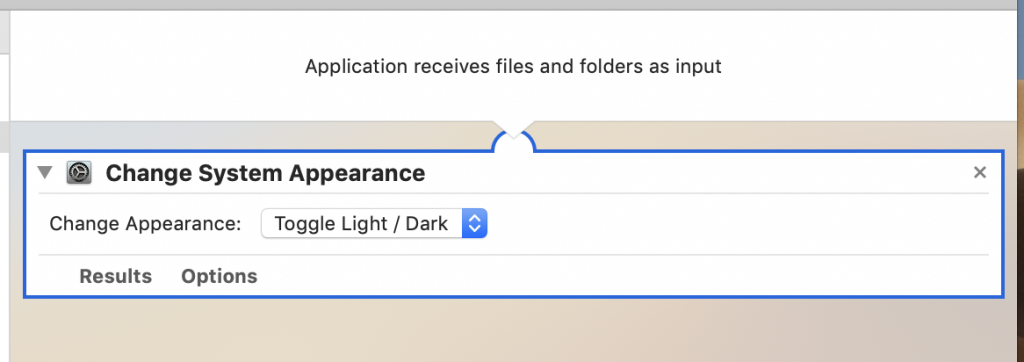
The default option should be ‘Toggle Light / Dark’
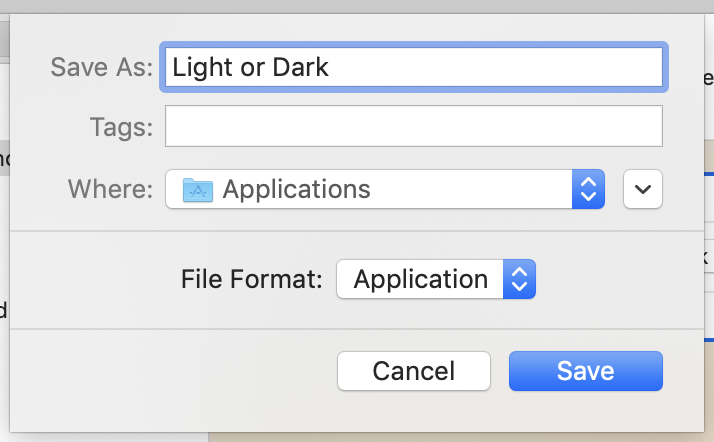
You can at this point press the play icon to test, or just skip straight to saving. Choose File > Save
Give it a useful name like Light / Dark and make sure it’s saving in the Applications folder
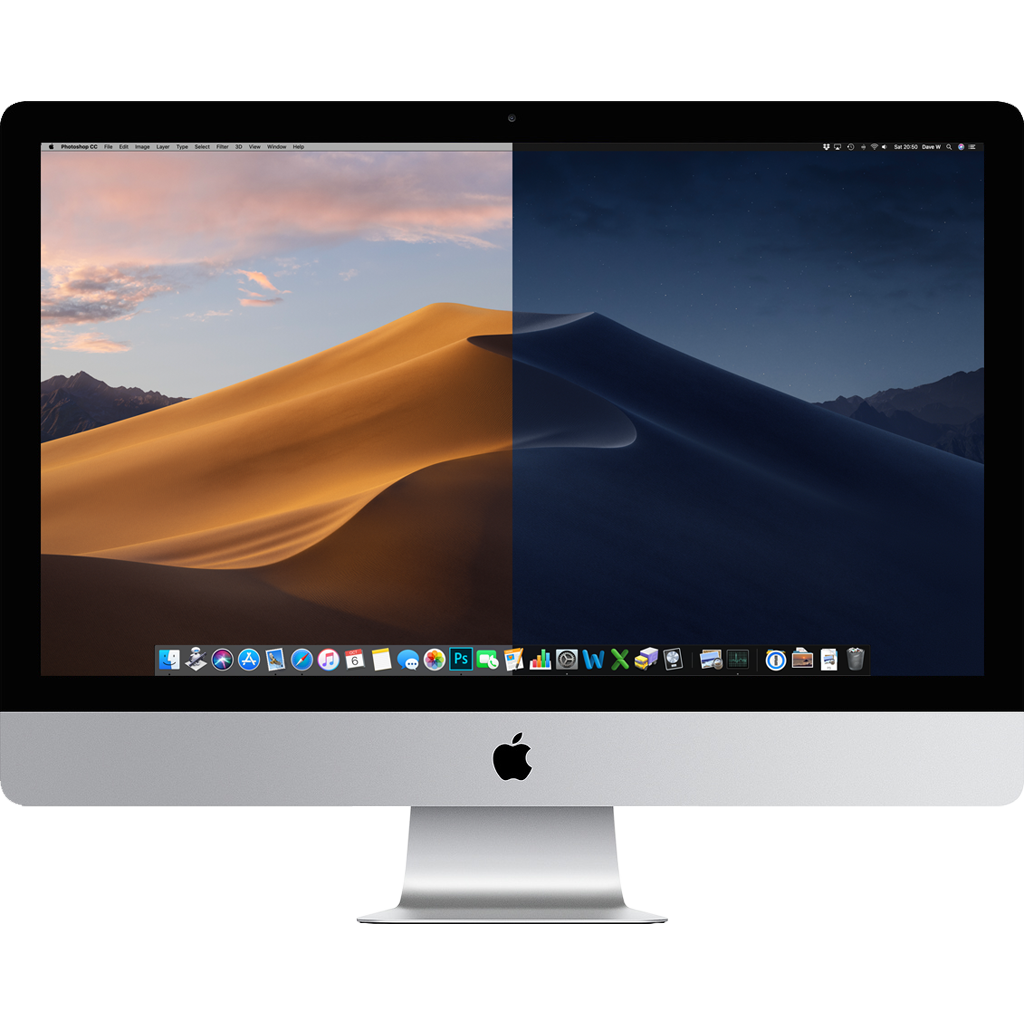
You now have a working switcher! But lets get rid of the robot icon and put something more relevant
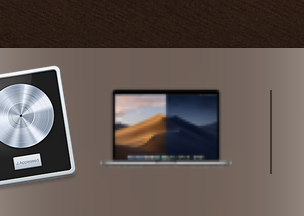
Save one of the below images I’ve made that best suits your machine – There’s the iMac Pro, iMac and MacBook Pro


Open the image in Preview (not just previewing with the space bar) and choose Edit > Copy
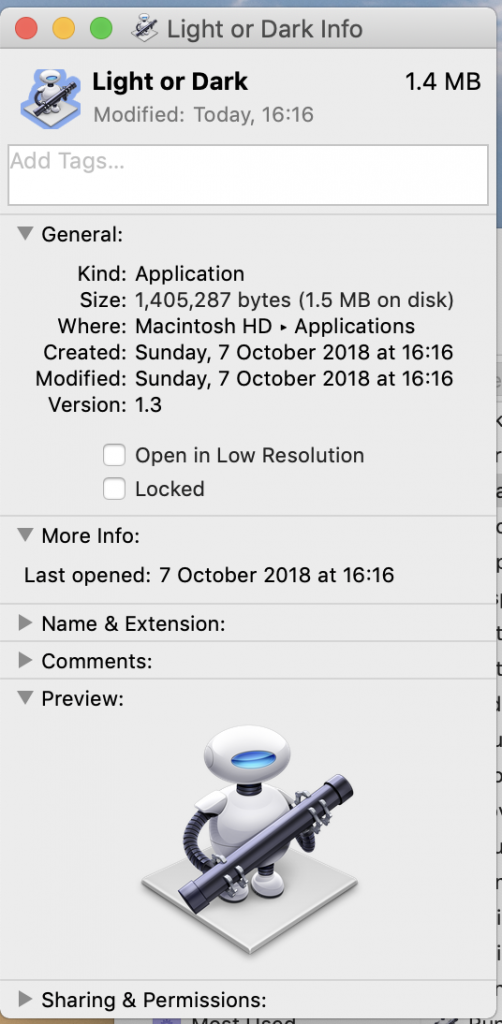
Open Finder, go to Applications, right click on your new Light / Dark application and click ‘Get info’
Click on the robot icon, it’ll show it’s selected by getting a blue outline
Then command+V to paste your new icon in
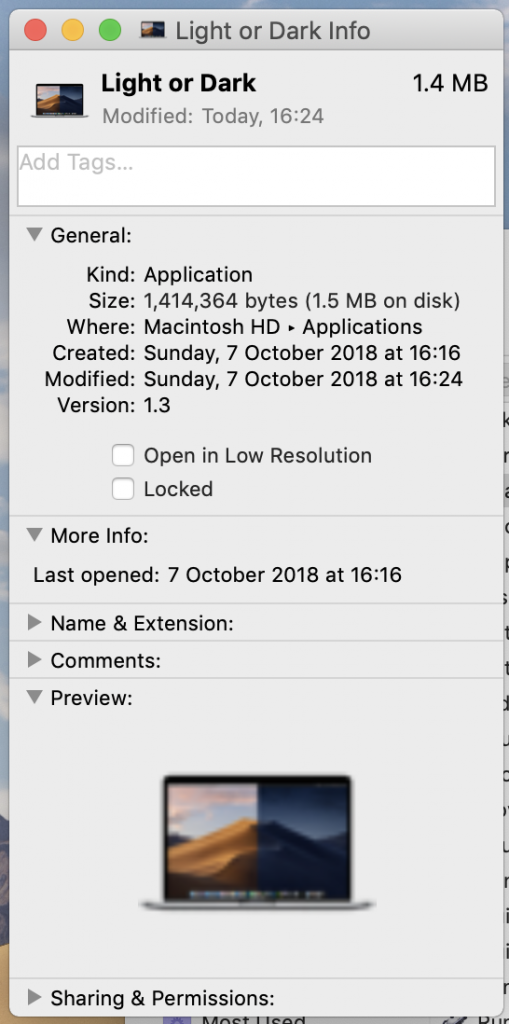
You can now close down the info screen and drag your new icon to the dock
When you first run it, you will likely receive the following message
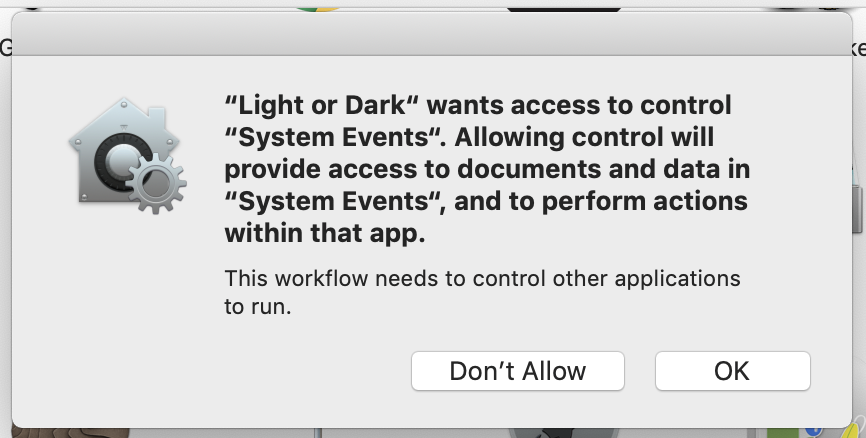
Click OK and it shouldn’t bother you again, happy switching!